Hey there! As a supplier of Cisco switches, I often get asked about how to configure 802.1X authentication on a Cisco switch. It's a crucial security feature that helps you control who can access your network. In this blog post, I'll walk you through the steps to set up 802.1X authentication on a Cisco switch, and I'll also mention some of the popular Cisco switches we offer.
First off, let's understand what 802.1X authentication is. It's a standard for port-based network access control (PNAC). In simple terms, it allows you to authenticate devices before they can access your network. This is super important for keeping your network secure, as it prevents unauthorized devices from connecting.
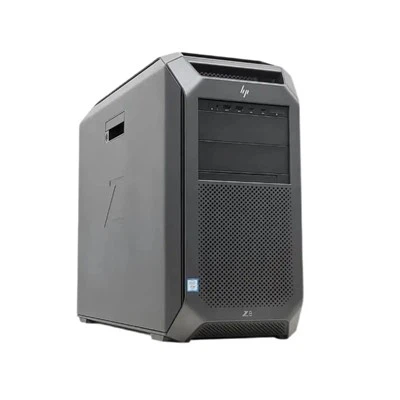
Now, let's talk about the Cisco switches we offer. We have some great options, like the Switch Cisco C1000 24t 4g L, the Switch Cisco C2960, and the Switch Cisco Catalyst 9300. These switches are reliable and support 802.1X authentication, making them perfect for businesses looking to enhance their network security.
Prerequisites
Before you start configuring 802.1X authentication, there are a few things you need to have in place:
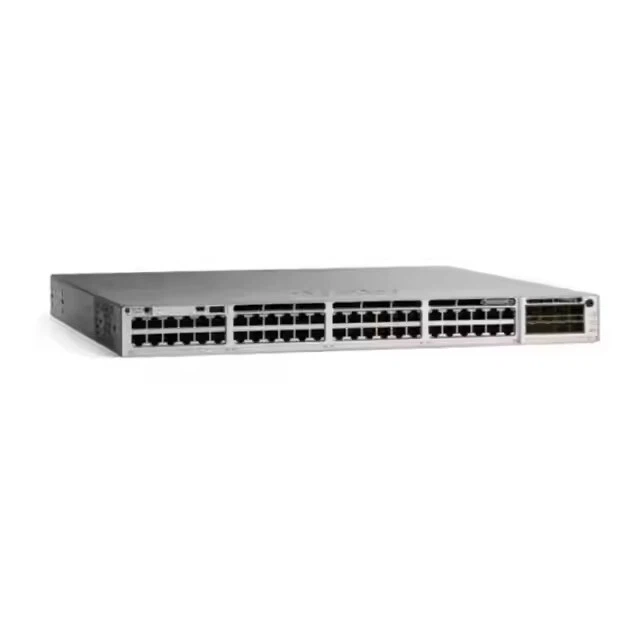
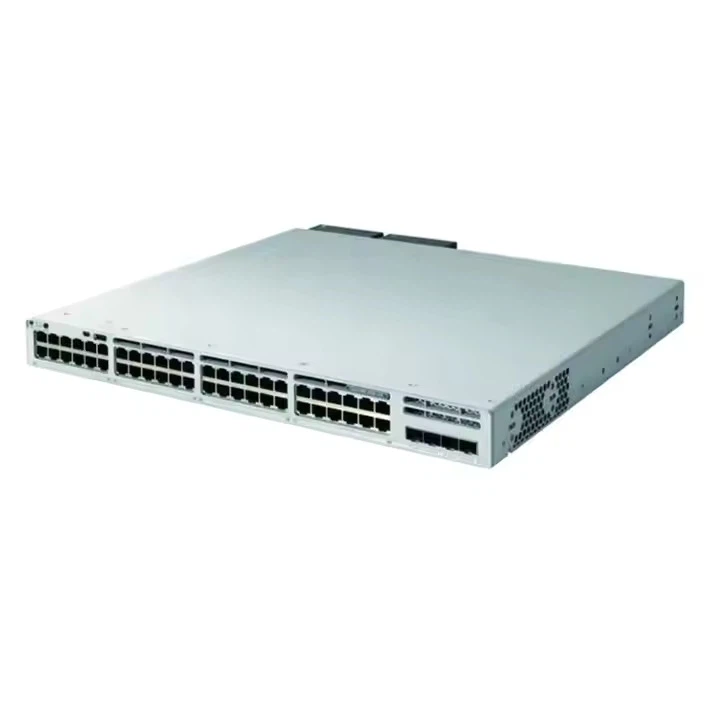
- A Cisco switch that supports 802.1X authentication. As I mentioned earlier, our Switch Cisco C1000 24t 4g L, Switch Cisco C2960, and Switch Cisco Catalyst 9300 are great choices.
- A RADIUS server. This server will handle the authentication process. You need to have the IP address, shared secret, and other relevant information for the RADIUS server.
- A basic understanding of Cisco IOS commands. If you're new to Cisco switches, don't worry. I'll explain the commands in detail.
Step 1: Enable 802.1X Globally
The first step is to enable 802.1X globally on your Cisco switch. You can do this by entering the following commands in the global configuration mode:
Switch# configure terminal
Switch(config)# dot1x system-auth-control
The dot1x system-auth-control command enables the 802.1X authentication globally on the switch.
Step 2: Configure the RADIUS Server
Next, you need to configure the RADIUS server on your switch. Use the following commands:
Switch(config)# radius-server host <RADIUS_SERVER_IP> key <SHARED_SECRET>
Switch(config)# aaa new-model
Switch(config)# aaa authentication dot1x default group radius
In the first command, replace <RADIUS_SERVER_IP> with the actual IP address of your RADIUS server and <SHARED_SECRET> with the shared secret you've set up on the RADIUS server. The aaa new-model command enables the new Authentication, Authorization, and Accounting (AAA) model, which is required for 802.1X authentication. The aaa authentication dot1x default group radius command tells the switch to use the RADIUS server for 802.1X authentication.
Step 3: Configure the Interface
Now, you need to configure the interfaces where you want to enable 802.1X authentication. For example, if you want to enable it on interface GigabitEthernet1/0/1, use the following commands:
Switch(config)# interface GigabitEthernet1/0/1
Switch(config-if)# switchport mode access
Switch(config-if)# dot1x port-control auto
The switchport mode access command sets the interface to access mode, which is required for 802.1X authentication. The dot1x port-control auto command enables 802.1X authentication on the interface and sets it to auto mode, which means the switch will start the authentication process when it detects a device connecting.
Step 4: Optional: Configure Other Settings
There are some other settings you can configure to enhance the security and functionality of 802.1X authentication. For example, you can configure the maximum number of attempts a device can make to authenticate:
Switch(config-if)# dot1x max-reauth-req <NUMBER_OF_ATTEMPTS>
Replace <NUMBER_OF_ATTEMPTS> with the number of attempts you want to allow. You can also configure the reauthentication timer:
Switch(config-if)# dot1x reauth-period <TIME_IN_SECONDS>
Replace <TIME_IN_SECONDS> with the time in seconds between reauthentication attempts.
Step 5: Verify the Configuration
After you've configured 802.1X authentication, it's important to verify the configuration. You can use the following commands:
Switch# show dot1x interface GigabitEthernet1/0/1
Switch# show radius
The show dot1x interface GigabitEthernet1/0/1 command shows the 802.1X status of the interface. The show radius command shows the status of the RADIUS server configuration.
Troubleshooting Tips
If you encounter any issues during the configuration or authentication process, here are some troubleshooting tips:
- Check the RADIUS server configuration. Make sure the IP address and shared secret are correct.
- Check the interface configuration. Make sure the interface is in access mode and 802.1X authentication is enabled.
- Check the logs on the switch and the RADIUS server. They can provide valuable information about what's going wrong.
Conclusion
Configuring 802.1X authentication on a Cisco switch is an important step in securing your network. By following the steps outlined in this blog post, you can easily set up 802.1X authentication on your Cisco switch. And if you're in the market for a new Cisco switch, we have some great options like the Switch Cisco C1000 24t 4g L, Switch Cisco C2960, and Switch Cisco Catalyst 9300.
If you have any questions or are interested in purchasing a Cisco switch, feel free to reach out to us for a procurement discussion. We're here to help you find the right solution for your network security needs.
References
- Cisco IOS Security Configuration Guide
- 802.1X Standard Documentation