Hey there! I'm an Inspur server supplier, and today I'm gonna walk you through how to configure the DHCP server on an Inspur server. Whether you're a tech newbie or a seasoned pro, this guide should help you get the job done.
First off, let's talk a bit about why you'd want to configure a DHCP server. DHCP, or Dynamic Host Configuration Protocol, is a network protocol that allows devices on a network to automatically obtain an IP address and other network configuration parameters. This can save you a ton of time and hassle, especially in larger networks where manually configuring each device would be a nightmare.
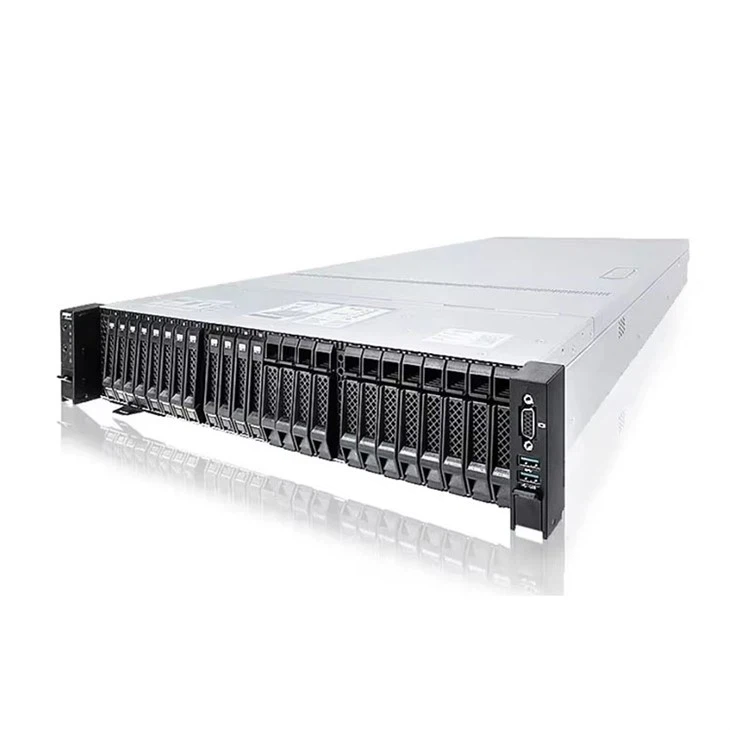
Now, let's get into the nitty - gritty of configuring the DHCP server on an Inspur server. I'll use some popular Inspur server models like the NF8260 M6, NF5280 M6, and NF5270 M6 as examples.
Prerequisites
Before you start configuring the DHCP server, there are a few things you need to have in place:
- An Inspur server: Obviously, you need an Inspur server to set up the DHCP service. Make sure it's up and running and connected to the network.
- Root access: You'll need root or administrative privileges to install and configure the DHCP server software.
- A stable network connection: A reliable network connection is essential for the proper functioning of the DHCP server.
Step 1: Install the DHCP Server Software
The first step is to install the DHCP server software on your Inspur server. The process might vary depending on the operating system you're using. For example, if you're running a Linux - based system like CentOS or Ubuntu:
On CentOS
Open the terminal and run the following commands:
sudo yum update
sudo yum install dhcp
The yum update command updates all the packages on your system to their latest versions, and the yum install dhcp command installs the DHCP server software.
On Ubuntu
In the terminal, run these commands:
sudo apt update
sudo apt install isc - dhcp - server
The apt update command updates the package list, and apt install isc - dhcp - server installs the DHCP server software.

Step 2: Configure the DHCP Server
Once the software is installed, you need to configure it. The main configuration file for the DHCP server is usually located at /etc/dhcp/dhcpd.conf. You can open this file using a text editor like nano or vim.
sudo nano /etc/dhcp/dhcpd.conf
Here's a basic example of how you can configure the DHCP server:
# Define the domain name
option domain - name "yourdomain.com";

# Define the DNS server
option domain - name - servers 8.8.8.8, 8.8.4.4;

# Define the subnet
subnet 192.168.1.0 netmask 255.255.255.0 {
    range 192.168.1.100 192.168.1.200;
    option routers 192.168.1.1;
    option broadcast - address 192.168.1.255;
    default - lease - time 600;
    max - lease - time 7200;
}
Let's break down what each part means:
option domain - name: This sets the domain name for the network.option domain - name - servers: This specifies the DNS servers that the DHCP - assigned clients will use.subnet: Defines the subnet for which the DHCP server will assign IP addresses.range: Specifies the range of IP addresses that the DHCP server can assign to clients.option routers: Sets the default gateway for the clients.option broadcast - address: Defines the broadcast address for the subnet.default - lease - timeandmax - lease - time: These determine how long a client can keep the assigned IP address.
Step 3: Configure the Network Interface
You need to tell the DHCP server which network interface it should listen on. Edit the /etc/default/isc - dhcp - server file (on Ubuntu) or the appropriate configuration file on other systems.
sudo nano /etc/default/isc - dhcp - server
Find the line that says INTERFACESv4 and set it to the network interface you want the DHCP server to use. For example:
INTERFACESv4="eth0"
Step 4: Start and Enable the DHCP Server
After you've configured the DHCP server, you need to start it and enable it to start automatically on boot.
On CentOS
sudo systemctl start dhcpd
sudo systemctl enable dhcpd
On Ubuntu
sudo systemctl start isc - dhcp - server
sudo systemctl enable isc - dhcp - server
Step 5: Verify the Configuration
To make sure the DHCP server is working correctly, you can use a DHCP client on another device on the same network. Try connecting the device to the network and see if it gets an IP address assigned automatically. You can also check the logs on the Inspur server to see if there are any errors.
sudo journalctl -u isc - dhcp - server  # On Ubuntu
sudo journalctl -u dhcpd  # On CentOS
Troubleshooting
If you run into any issues during the configuration process, here are some common problems and solutions:
- No IP addresses assigned: Check the DHCP server logs for errors. Make sure the range of IP addresses you've defined is valid and not already in use on the network.
- DHCP server not starting: Check the configuration files for syntax errors. Make sure the network interface you've specified is up and running.
Conclusion
Configuring a DHCP server on an Inspur server isn't as complicated as it might seem at first. By following these steps, you should be able to set up a DHCP server that can automatically assign IP addresses to devices on your network.
If you're interested in purchasing an Inspur server for your business or personal use, or if you have any questions about the configuration process, don't hesitate to reach out. We're here to help you make the most of your network infrastructure.
References
- "DHCP Server Configuration Guide", Linux Documentation Project
- "Networking Basics", Cisco Systems