

Dot1Q tunneling, also known as 802.1Q tunneling, is a technology that allows service providers to encapsulate customer VLAN traffic within another VLAN tag, enabling the transportation of multiple customer VLANs over a shared infrastructure while maintaining isolation between different customers. In this blog post, I'll guide you through the process of configuring Dot1Q tunneling on a Cisco switch, drawing on my experience as a Cisco switch supplier.
Prerequisites
Before you start configuring Dot1Q tunneling, you need to ensure the following:
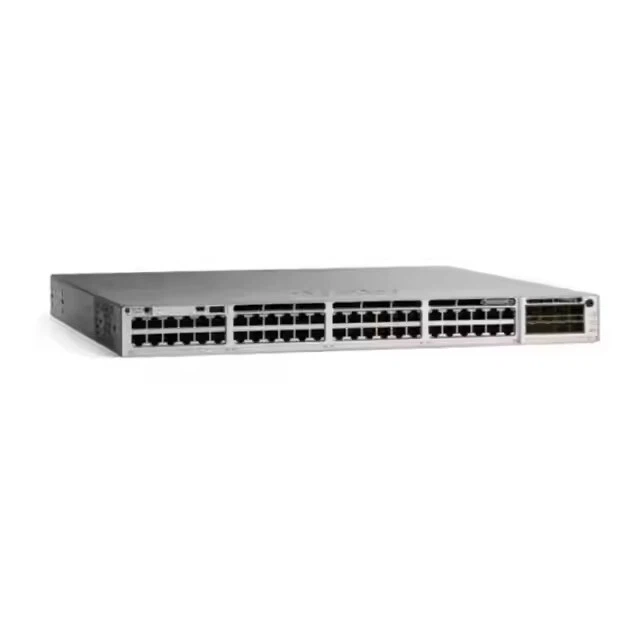

- You have access to a Cisco switch that supports Dot1Q tunneling. Some of the popular models we supply, like the Switch Cisco C1000 24t 4g L, Switch Cisco Catalyst 9300, and Switch Cisco C9200, are fully capable of handling this configuration.
- You have basic knowledge of VLANs and Cisco IOS commands.
- You have administrative privileges on the switch.
Understanding Dot1Q Tunneling
Dot1Q tunneling works by adding an additional 802.1Q tag (the service provider tag) to the customer's original 802.1Q tagged frames. This outer tag is used to identify the service provider's VLAN, while the inner tag remains the customer's original VLAN information. This way, multiple customer VLANs can be transported over the same service provider network without interference.
Configuration Steps
Step 1: Enter Global Configuration Mode
First, you need to access the global configuration mode on your Cisco switch. Connect to the switch using a console cable or SSH, and log in with your administrative credentials. Then, enter the following command:
enable
configure terminal
The enable command takes you to privileged EXEC mode, and configure terminal allows you to enter global configuration mode.
Step 2: Create Service Provider VLANs
You need to create the VLANs that will be used by the service provider for transporting customer traffic. For example, if you want to create VLAN 100 and 200, use the following commands:
vlan 100
name Service_Provider_VLAN_100
exit
vlan 200
name Service_Provider_VLAN_200
exit
These commands create VLANs 100 and 200 and assign descriptive names to them.
Step 3: Configure the Interface for Dot1Q Tunneling
Select the interface that will be used for Dot1Q tunneling. For instance, if you are using interface GigabitEthernet 0/1, use the following commands:
interface GigabitEthernet 0/1
switchport mode dot1q-tunnel
switchport dot1q-tunnel native vlan 100
The switchport mode dot1q-tunnel command sets the interface to Dot1Q tunneling mode. The switchport dot1q-tunnel native vlan 100 command specifies the native VLAN for the service provider.
Step 4: Define Allowed VLANs
You need to define which customer VLANs are allowed to be tunneled over the service provider network. For example, if you want to allow customer VLANs 10, 20, and 30, use the following command:
switchport trunk allowed vlan 10,20,30
This command restricts the VLANs that can be carried over the tunnel to VLANs 10, 20, and 30.
Step 5: Configure the Customer Side Interface
On the interface connected to the customer's network, you need to configure it as a trunk port and allow the appropriate customer VLANs. For example, if you are using interface GigabitEthernet 0/2:
interface GigabitEthernet 0/2
switchport mode trunk
switchport trunk allowed vlan 10,20,30
This configures the interface as a trunk port and allows the specified customer VLANs.
Step 6: Save the Configuration
After you have completed all the configuration steps, save the configuration to ensure that it persists after a reboot. Use the following command:
end
write memory
The end command takes you back to privileged EXEC mode, and write memory saves the running configuration to the startup configuration.
Verification
To verify that Dot1Q tunneling is working correctly, you can use the following commands:
show interfaces switchport: This command displays the switchport configuration, including the mode and allowed VLANs.show vlan: This command shows the VLAN information on the switch.show interfaces trunk: This command provides detailed information about the trunk interfaces, including the allowed VLANs and the native VLAN.
Troubleshooting
If you encounter issues with Dot1Q tunneling, here are some common problems and solutions:
- No traffic passing through the tunnel: Check the interface status using
show interfaces. Make sure that the interfaces are up and running. Also, verify that the allowed VLANs are correctly configured on both the service provider and customer sides. - Incorrect VLAN tagging: Use packet capture tools to analyze the traffic and ensure that the frames are being tagged correctly. Check the configuration of the native VLAN and the allowed VLANs.
- Connectivity issues: Ensure that the physical connections are correct and that there are no cable problems. Also, check the network topology and make sure that the switches are properly interconnected.
Conclusion
Configuring Dot1Q tunneling on a Cisco switch is a powerful way to provide VLAN isolation and transport multiple customer VLANs over a shared infrastructure. By following the steps outlined in this blog post, you can successfully configure Dot1Q tunneling on your Cisco switch.
If you are interested in purchasing Cisco switches or need further assistance with network configuration, feel free to contact us for a detailed discussion. Our team of experts is ready to help you find the best solutions for your networking needs.
References
- Cisco IOS Switching Command Reference
- Cisco Networking Academy - VLAN and Trunking Concepts