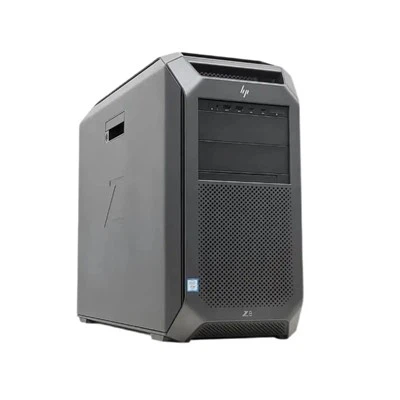
Installing a Hard Disk Drive (HDD) in a pre-built computer can significantly enhance its storage capacity and performance. As an HDD supplier, I've had extensive experience with various HDD models and installation procedures. In this blog, I'll guide you through the process of installing an HDD in a pre-built computer, step by step.
Step 1: Gather the Necessary Tools and Equipment
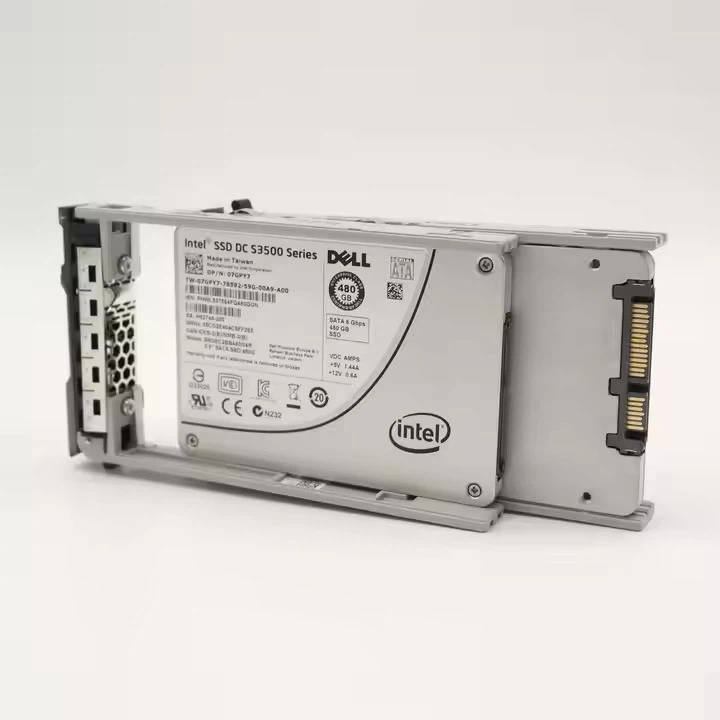
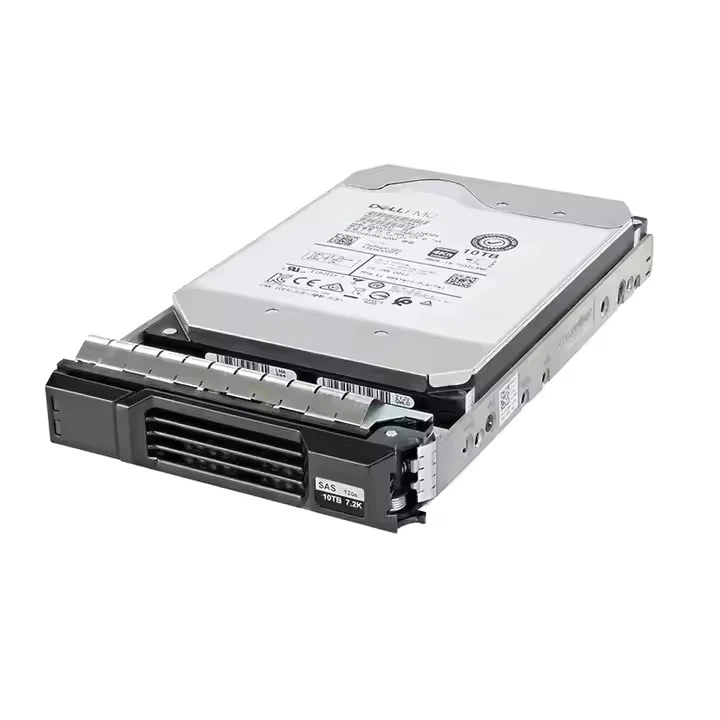
Before you start the installation process, it's essential to gather all the necessary tools and equipment. You'll need a Phillips head screwdriver, an anti-static wrist strap (to prevent electrostatic discharge from damaging your components), and of course, the HDD you plan to install. We offer a wide range of high-quality HDDs, such as the HDD 22TB, Dell HDD 10TB, and Dell HDD 8TB.
Step 2: Power Off and Disconnect the Computer
Safety first! Make sure your computer is powered off and unplugged from the electrical outlet. This will prevent any electrical shocks and protect your components from damage. Additionally, disconnect all external devices, such as monitors, keyboards, and mice.
Step 3: Ground Yourself
As mentioned earlier, electrostatic discharge can damage your computer components. To prevent this, wear an anti-static wrist strap and connect it to a grounded object, such as a metal case or a grounding mat. If you don't have an anti-static wrist strap, you can touch a metal object, like a radiator, to discharge any static electricity from your body.
Step 4: Open the Computer Case
Locate the screws on the back of your computer case. Depending on your computer model, you may need to remove two or more screws to open the case. Once the screws are removed, slide the side panel off the case.
Step 5: Locate the HDD Bay
Inside the computer case, you'll find one or more HDD bays. These are typically located near the front of the case and are designed to hold the HDD securely in place. If your computer already has an HDD installed, you can either replace it or install the new HDD in an available bay.
Step 6: Prepare the HDD
Before installing the HDD, you'll need to prepare it for installation. This involves removing the mounting brackets from the HDD and attaching them to the new HDD. Make sure the brackets are properly aligned and tightened to ensure a secure fit.
Step 7: Install the HDD
Carefully slide the HDD into the available bay and align it with the mounting holes. Once the HDD is in place, insert the screws into the mounting holes and tighten them securely. Make sure the HDD is firmly attached to the bay to prevent any vibrations or movement.
Step 8: Connect the Cables
After installing the HDD, you'll need to connect the necessary cables. There are two types of cables you'll need to connect: the power cable and the data cable.
- Power Cable: Locate the power supply unit (PSU) inside the computer case. The PSU is responsible for providing power to all the components in your computer. Find an available SATA power cable and connect it to the power connector on the HDD.
- Data Cable: The data cable is used to transfer data between the HDD and the motherboard. Locate an available SATA data port on the motherboard and connect the data cable to it. Then, connect the other end of the data cable to the data connector on the HDD.
Step 9: Close the Computer Case
Once all the cables are connected, carefully slide the side panel back onto the computer case and secure it with the screws. Make sure the case is properly closed to prevent any dust or debris from entering the computer.
Step 10: Power On the Computer
After closing the computer case, plug the computer back into the electrical outlet and power it on. During the startup process, your computer may detect the new HDD automatically. If not, you'll need to enter the BIOS settings and configure the HDD as a boot device.
Step 11: Initialize and Format the HDD
Once your computer has started up, you'll need to initialize and format the new HDD. To do this, follow these steps:
- Open the Disk Management utility on your computer. You can do this by right-clicking on the Start button and selecting "Disk Management."
- In the Disk Management window, you should see the new HDD listed. Right-click on the unallocated space on the HDD and select "New Simple Volume."
- Follow the wizard prompts to create a new partition and format the HDD. You can choose the file system (such as NTFS or exFAT) and the partition size.
- Once the formatting process is complete, the new HDD will be ready to use.
Troubleshooting Tips
If you encounter any issues during the installation process, here are some troubleshooting tips:
- HDD Not Detected: Make sure the data and power cables are properly connected to the HDD and the motherboard. You may also need to check the BIOS settings to ensure the HDD is enabled.
- Formatting Errors: If you receive an error message when trying to format the HDD, make sure the HDD is compatible with your operating system. You may also need to update your device drivers or try using a different formatting tool.
- Performance Issues: If you experience slow performance or data transfer issues, make sure the HDD is not overloaded with data. You may also need to defragment the HDD or update your antivirus software.
Contact for Procurement
If you're interested in purchasing high-quality HDDs for your pre-built computer or any other applications, we're here to help. Our team of experts can provide you with personalized advice and support to ensure you choose the right HDD for your needs. Whether you're looking for the HDD 22TB, Dell HDD 10TB, or Dell HDD 8TB, we have a wide range of options to meet your requirements. Contact us today to start the procurement process and take your computer's storage capacity to the next level.
References
- "Computer Hardware Installation Guide." [Publisher Name], [Year of Publication].
- "HDD Installation and Troubleshooting." [Website Name], [Date Accessed].
- "Disk Management in Windows." [Microsoft Documentation], [Date Accessed].